
So, ever since I first attempted these strawberry macarons I've wanted to have another go because they worked so well. But I wanted something with a little bit more flavour, so I found this recipe on Taste and used it as a base. There were a few issues with it, but those were mostly because of my own STUPID UNPREPAREDNESS.
Anyway, let's get started, shall we?
Ingredients
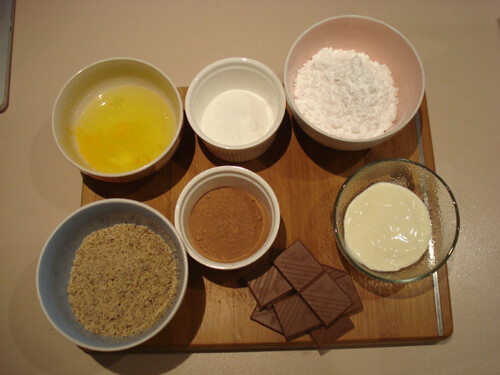
1 1/4 cups hazelnut meal
1 1/2 cups pure icing sugar
4 egg whites at room temperature
1/4 cup caster sugar
2 tablespoons cocoa
Filling
100grams good quality chocolate (dark or milk)
2 tablespoons thickened cream
2 teaspoons of peppermint essence
Method
The first thing you need to do is make sure you separate your egg whites into a bowl at least two hours before you start. They really need to be at room temperature.
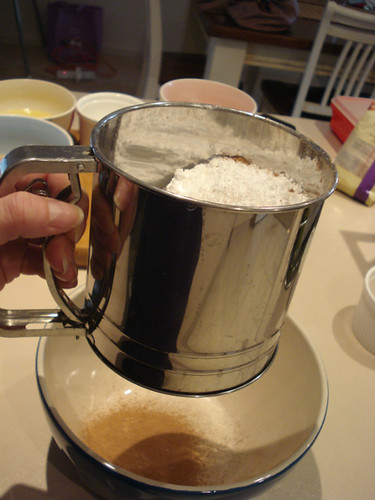

Sift your cocoa and icing sugar together, then sift the hazelnut meal in as well. The hazelnut meal is really hard to sift as it has small chunks of the actual nut in it, so you may want to whiz it all around in a food processor before sifting it. The key is to get it sifted into the sugar and cocoa as finely as possible. If there are any remaining chunks of nuts in the sifter, don't include them as the biscuit part will be gritty when cooked.
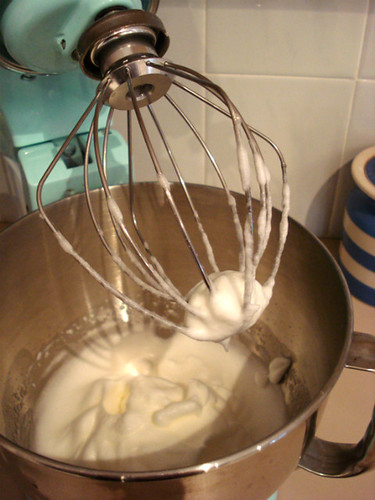
When your egg whites are at room temperature, beat them in an electric mixer until they are fluffy and form stiff peaks. This is also really important - they'll get fluffy really quickly, but they need to be firm - test them with a wooden spoon by kind of poking them and lifting it up to see if they're runny. If they are, keep beating. If not, you're done.
At this point, preheat your oven to 130ºC (110º for a fan-forced oven).

Pour half the dry ingredients into the egg whites and fold them in. I never really took much notice when recipes said to 'fold' stuff, but with macarons you really have to slowly fold the mixture over and over itself. Just stirring it all in will make all the air in the egg whites disappear, which you don't want. Fold the in the rest of the dry ingredients. The mixture will shrink down slowly and become glossy, but that's totally normal. Annoying though, because you feel like someone walked in a stole half your mixture.

Line a couple of baking trays with baking paper and pipe the mixture onto the trays as three to four centimetre discs. They may have a little kick on top of them from where you remove the piping bag, but once you bang the trays on the counter top a few times the kicks will disappear.
NOW. I have to interrupt myself here to let you know that although the Taste recipe says to put the mixture into a snaplock bag and trim the end to pipe them, but let me tell you. That DOES NOT WORK. AT ALL. So you need to make sure you have some disposable piping bags on hand. You can buy them in supermarket in the cake mix aisle.
ALSO. You really, really need to make sure you have the piping bags BEFORE you start cooking. I thought I had some, spent half an hour tearing the kitchen apart trying to find them, then had to drive to the supermarket TOTALLY ENRAGED, wanting to punch everyone in the face, buy the stupid piping bags, then drive home. If this happens to you, be prepared for the fact that this delay will make the mixture shrink a bit more and you won't be able to make as many as you should be able to. It. Was. INFURIATING.
Anyway, I was home by myself and couldn't get my husband to take a photo of me piping the macarons, so to see how it's done check this out. You can see what I mean with the little kick on top as you pipe them. Also, how quick is he? I am not that quick. I pipe a couple, smear mixture all over myself, stop to wash my hands, stop to refill the piping bag, swear a bit, etc, etc.
Once you've piped them onto the trays about a centimetre apart, bang them on the bench top a few times (this is really great if you have forgotten the piping bags and had the detour mentioned above and you are still SUPER PISSED about that), and leave them sitting out for an hour so that the top gets a really subtle skin on them.
Slide them into the oven and let them bake for about 15 minutes. Resist the urge to check them a million times, they'll bake just fine. Take them out once they're done and leave them to cool for another hour - they're easier to lift off the trays when they are completely cooled down.
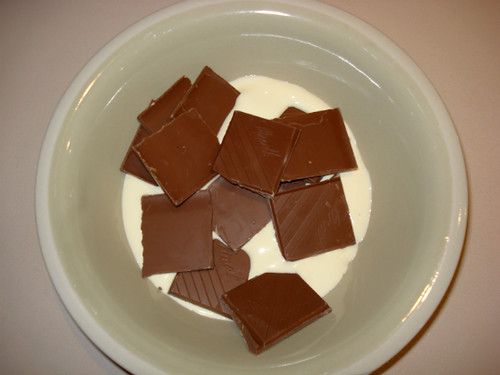
While you wait for the biscuits to cool, combine the cream and chocolate in a bowl and melt in the microwave for about a minute or two. Mix it with a silver spoon to combine it properly and make sure all the chocolate melts. Leave it in the fridge for about fifteen minutes, or until it firms up a little bit.
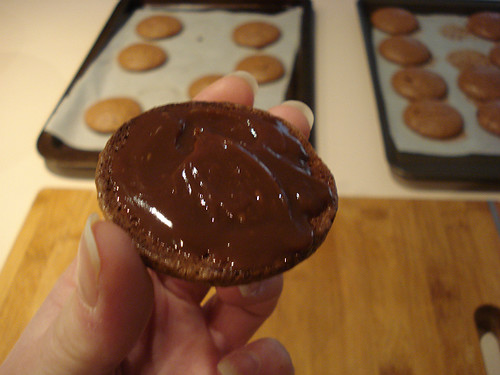
Spread the mixture onto a biscuit and join it to another one. Lather, rinse, repeat until all the biscuits are joined.
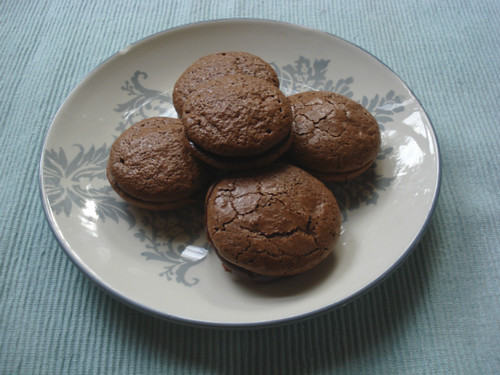
Et Voila!
Notes
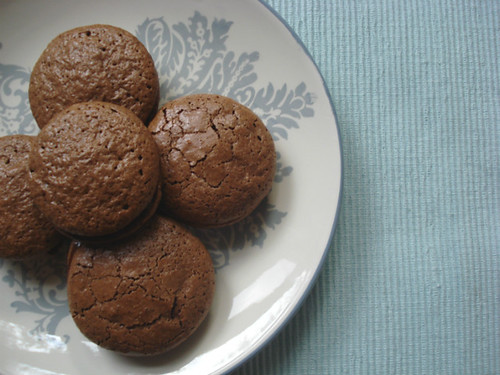
- Like I mentioned, I'm a little but unhappy with these, but that's because of the stupid detour I took to go out and buy the piping bags. I think the mixture shrank too much and made the macarons slightly flatter than they should have been. I also think that's why the tops didn't come out as smooth as my previous attempt. Although I'm not sure if that's because I substituted the almond meal for hazelnut meal.
- Use a piping bag that has a nozzle that is at least 1 or 1.5 centimetres wide, or the mixture will come out like a drizzle of toothpaste in an indiscernable blob.
- Pipe the mixture by having the piping nozzle almost touching the tray so that the mixture is forced to balloon up around it in a circular shape.
- When the filling has been melted in the microwave, you can add a couple of teaspoons of peppermint essence to give it a mint flavour. Add it half a teaspoon at a time so it doesn't end up too minty (unless you're into that kind of thing. I personally am not).
Anyone else have experience baking macarons? What are your tips?


No comments:
Post a Comment